
SOLO is an invite-only platform which means, the one with the invite link can only join the platform.
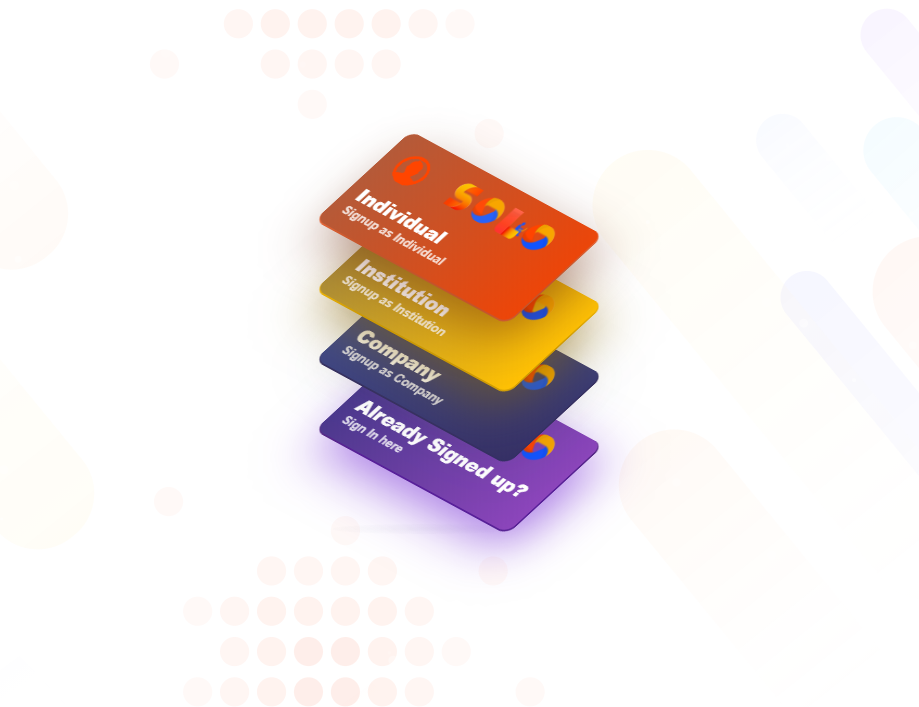
There are three types of user accounts on SOLO
Individual – Could be Student, Working professional, Mentor, and so on
Institute – Organizations such as Universities, Colleges & Training institutes
Company– Tech companies
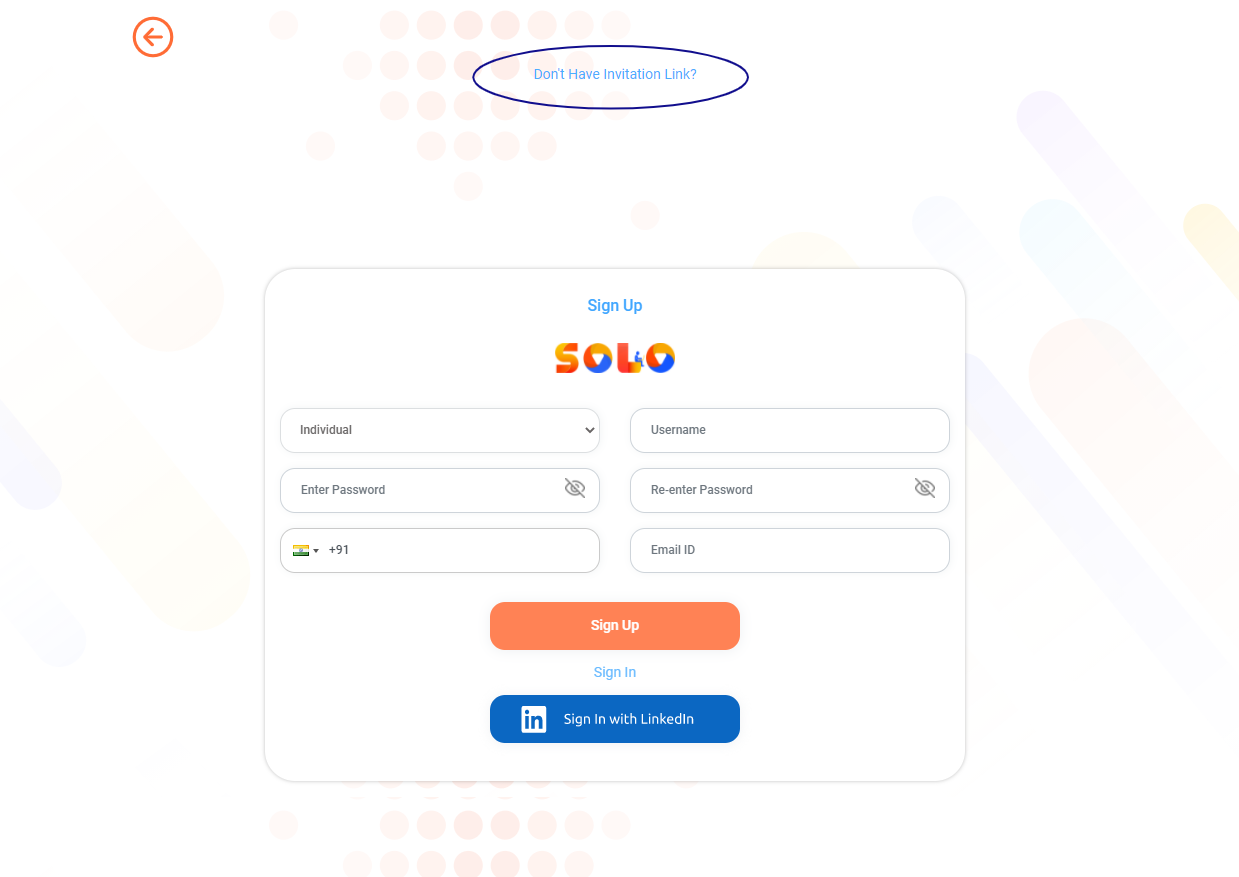
What if an institute/company is willing to join the ecosystem and does not have an invite link? Not to worry!
One can easily request a passcode by filling up the Don’t have passcode form on the signup page. SOLO team will reach out to you and provide an invite link.
Individuals can directly log in using the passcode/invite link provided by SPARK+ or any other Institution/Company.
Institute or Company has the privileges to onboard students under them by providing their invite link. In this scenario Institute or Company will be onboarded first on the platform by invite link from SPARK+ and then they can onboard individuals connected with them.
The onboarding process for the institute and company will be the same.
What is the passcode/invite link?
A passcode is a unique digital identity that makes it possible for a new user to sign up to the platform. When a new institution joins the platform using the passcode/invite link, it can generate its own passcode for their students to join.
The passcode will not directly allow you to join the platform instead, it sends a join request to the institution that issues the passcode/invite link.
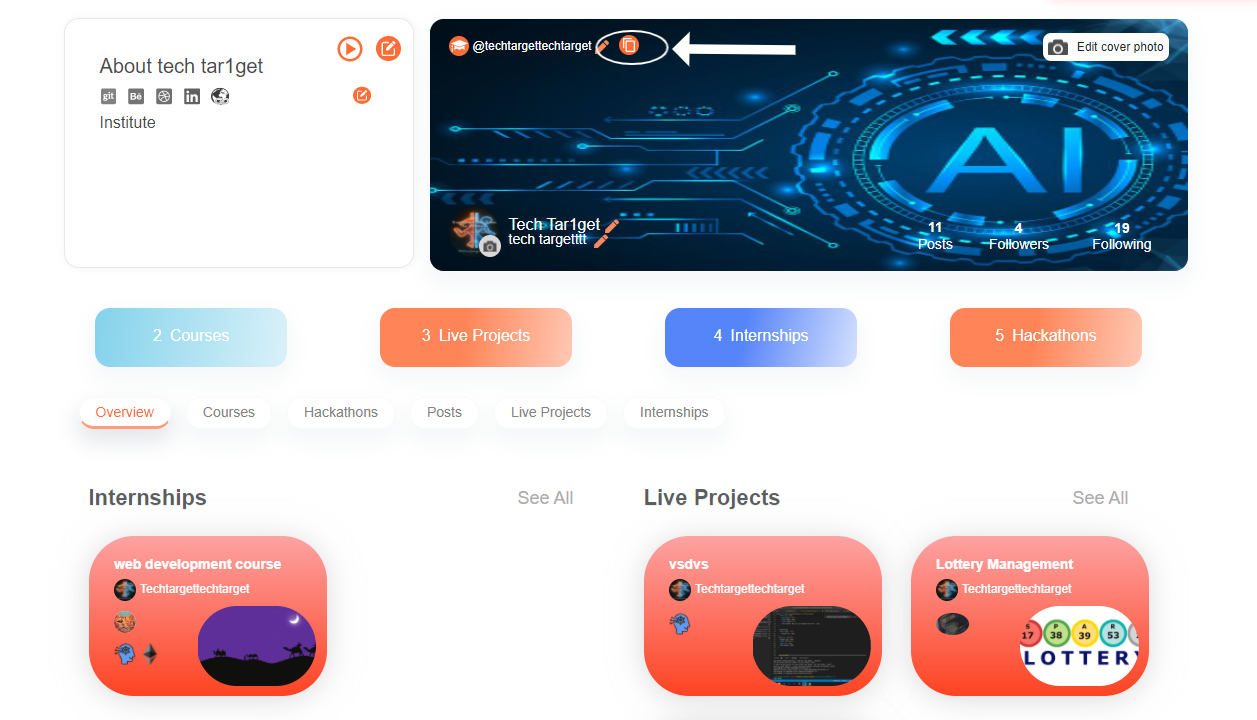
Institutions/companies will find the invite link for the students at the top left of their My Profile section. It can be easily copied and sent to students to join.
This way existing institutes/companies can copy invite link and onboard their community.
Step by Step process for the institution to onboard students:
Step 1: Log in to the institution/Company account
Step 2: Go to My Profile section from the Navigation bar
Step 3: Copy the invite link from the top left of my profile section
Step 4: Send it to students to onboard under your institution/Company
*(Students will join using the link provided by the Institution/Company and wait for getting approved)
Step 5: Go to the Registration Request section to find students joining requests.
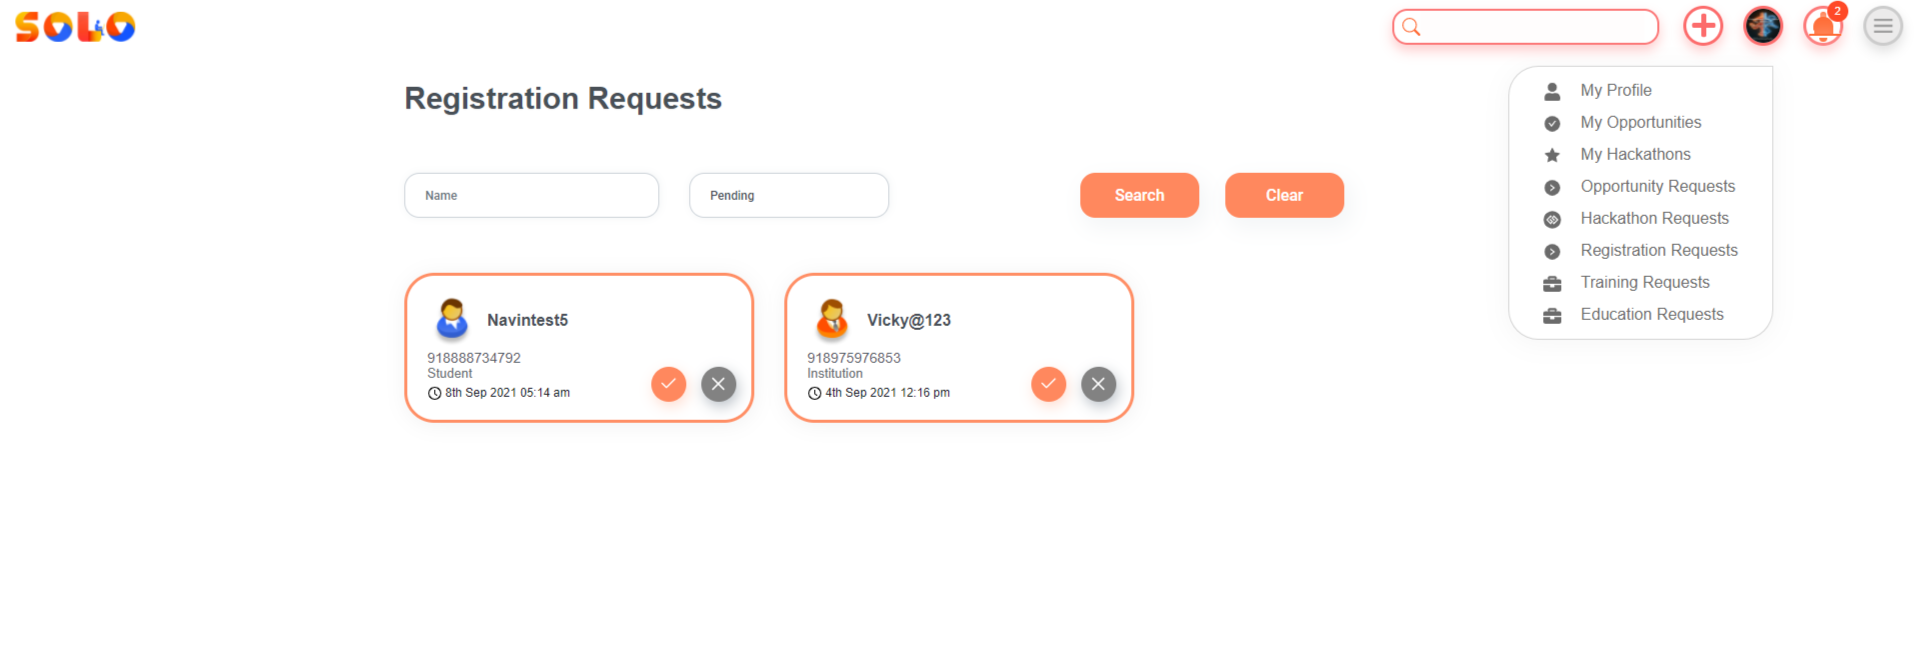
Step 6: Accept/Reject the request
*(The individual will be notified by mail that the account is approved)
Step 7: The individual has to log in the first time and fill in basic information then the account will be activated. This is an important step as once an individual fills the form then only the account will be activated
Join SOLO community on telegram https://t.me/soloecosystem
Reach out to us at [email protected] for any issues/queries. Cheers!


